Sorry this has taken soooooo long. Ok here goes my first ever... TUTORIAL. I hope I can do this process some justice. Is it not hard. Let me repeat, NOT HARD. It is a process however, just a step at a time. Keep in mind I did not know how to sew when I began this chair. Nor did I have a sewing machine. (minor detail when sewing a cushion!) My friend Jen did, and she came over with her sewing machine and glue gun to help.
Supplies: sewing machine, fabric, thread to match, sharp fabric scissors, pins for fabric, piping material and template material if desired, glue gun, glue sticks, electric stapler/tacker if you have one but not totally necessary, needle nose pliers, flat head screwdriver, camera, paper and pencil,
But, before that day Jen came over, I had taken off all of the fabric and removed a GAZZILLION staples. SO..... 
Step One: Remove fabric from chair, start from the back. The back has this grip stuff on the sides and top. I used a flat head screwdriver to pry up. I saved this and used it again so I was careful not to destroy it as i pried it up. 
Step Two: This step is still about removing fabric but ... take pics as you go and write down the order of removing the fabric. Label each piece of fabric and use as a template for the new fabric. Keep in mind fabric on the chair is put on in layers almost. Sort of like an onion. Some layers attach in places that are covered with the fabric. More on that in a minute. Next to go was the piping.

In the next picture note how the side of the fabric overlays on the front fabric that is stretched around the side. And see the lighter orange fabric stapled to the bottom? That is the inside, side fabric. Do you get my onion analogy now? Layers...make notes.

Just a few hints about removing fabric from this type of chair... the front of the chair is actually stapled to the back inside and the back bottom. When attaching my new fabric I had to pull the fabric from the back to get it tight around the front. The outside side was origially done in two pieces but I just did mine in one. Each chair is probably slightly different but you'll get the hang of it! It seems like I started from the back and worked my way into the middle of the chair when removing the fabric and vice versa when attaching.

On to step three...
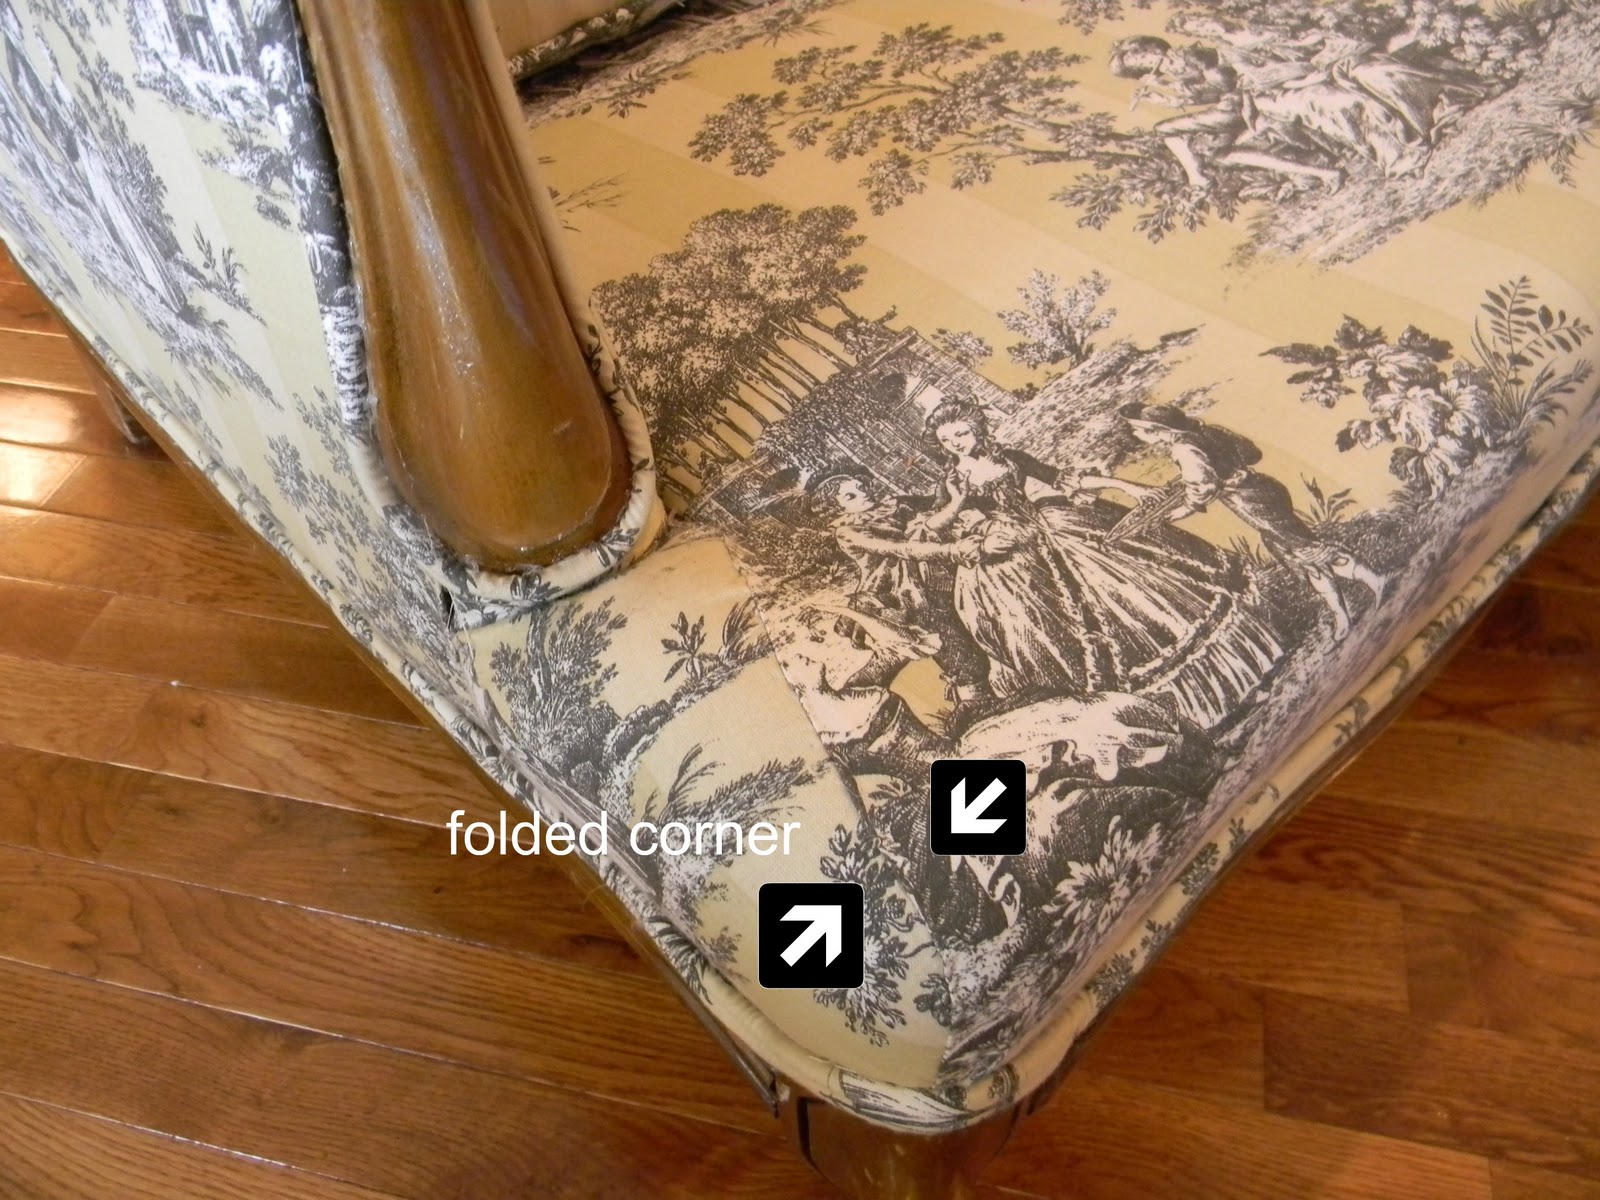
Step Three: Adding new fabric. Of course I picked a fabric with a pattern and a stripe, geezz. Any way, start in reverse order from when you removed the fabric. I started with the bottom. FYI there are many ways to skin a cat and since I didn't know how to sew with a machine at this point, I folded my corners and used fishing line thread to hand sew.
And get this... we hot glued the fabric to the chair. The way I did it was, I used the old fabric for a template to cut the new fabric. Then hot glued it on the edges. I used a stick thingy to secure the glue 'cause it was hot! Later when the glue was dried I put in a few staples for good measure. Remember, the piping will cover where you have glued and stapled and make it look complete.

Step Four: After all the fabric was on the chair, it was time to learn to use that sewing machine. All that is left is the piping and the cushion. But Jen was long gone. ( it took me a week to finish the other half of the chair!) I just figured out how to use the machine watching U-tube videos. There are videos on how to make piping, cushions and anything else. Both of these could be their own tutorial and maybe some day...but for now my chair is done and you can do it too!


